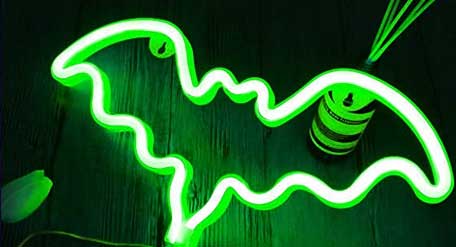
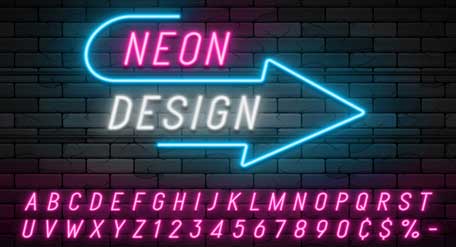
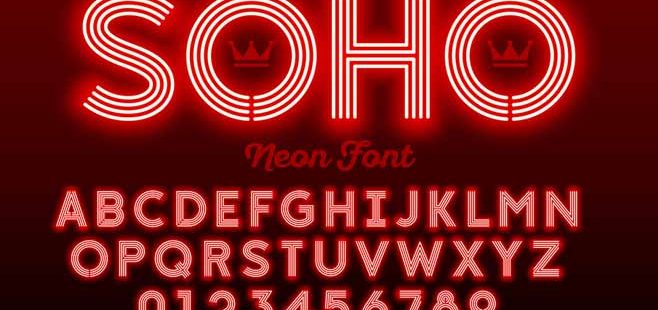
At the heart of every modern street is a vibrant network of lights. Neon signs are important symbols, and they can be found in places like airports, hotels, restaurants, and more. These signs are also known as neon lighting or led neon signs. The use of these signs in the world of advertising has changed over time. Neon direct signs are becoming more popular than ever. These types of neon signs have a great aesthetic value and can be used in many different areas such as bars, restaurants, pubs, shops and other businesses. They can also be installed at home to give your interior a touch of the retro feel.
What You Need For a Led Neon Sign?

- Approximate 6mm plastic tubing (flexible aquarium type)
- RGB LED Strip (flexible silicone)
- A rigid board, for example. Plywood or 5mm MDF
- Drill bit and drill 6mm
- Jigsaw or scroll saw
- Hot glue and CA glue
- L-Channel in aluminum
- Razors
- Foam board in black
Steps to Make Your Custom Neon Led Signs

These signs come in various shapes and sizes, and can be used on cars, bikes, buses, trucks, trailers, homes, restaurants or any other place where you want to advertise something. Here are the step-by-step instructions to make your own neon led signs.
Step 1-Use MDF or plywood for the base
Step 2-Printed sign letters can be sprayed mounted to the base using ordinary printer paper.
Step 3-Use the same diameter drill bit as the plastic tube to drill the start and end holes of each letter segment of the neon tube.
Step 4-With a scroll saw or jigsaw, join the two holes at the start and end of each segment.
Step 5-As you use the tube to form each letter, keep the start and end of each letter hidden at the back of your base, with a 90-degree turn for each stroke. Fix the tube flush with the base by gluing it with hot glue and CA glue.
Make a Simple Frame for Your Neon Wall Sign
With the aluminum L-Channel and a set of garden shears, create a frame shape that fits around the edges of your base. You’re hiding some messy wiring. Stick it to the back with a small visible border to look minimalist.
Create a box around every word of the neon. This will provide space for mounting leds around each word. Use a glue gun to attach the led. You can also attach a strip around the perimeter of the frame to give the neon a nice backlight effect.

Conclusion:
Now that you know how to make custom led neon signs, it’s time to start building your own! The process is relatively simple and doesn’t require a lot of skill or special equipment. It can be completed in less than an hour, but if you want to make sure the end result looks perfect, then expect to spend some extra time on it. Making custom led neon signs is a fun and easy project. If you have basic skills with a screwdriver, you can make some cool looking custom neon signs.
- 5 Reasons to Try ProHydrolase for Digestive Health - June 20, 2024
- SMS Verification: A Comprehensive Overview - June 10, 2024
- 4 Effective Ways to Manage Erectile Dysfunction - June 3, 2024

